How to customize verification emails in Amazon Cognito? Use Lambda!
The problem
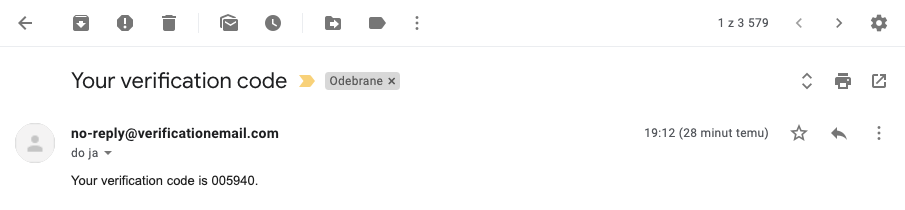
Let’s say you want your users to be able to reset their passwords through Sign-in page inside your app. If you have e-mail verification enabled in Cognito (which in most cases you should have) the user will have to copy the received verification code from the e-mail and paste it in your app. The problem is that the e-mails sent from Cognito by default look like poop 💩
It’s understandable though – Cognito provides a way to verify the users, the developer should be responsible for customising how it looks like. The problem is that Cognito doesn’t provide a way to customize those messages easily. Under General settings -> Message customisations you can customize the MFA (Multi-Factor Authentication) message and your user invitation messages – but you can’t customize the verification email 🤷🏼♂️
The solution – lambdas!
Although, as of the time of creating this post, there is no way to customize verification emails through Cognito console easily, you can do it using lambdas. You can create a lambda function that intercepts Cognito Sync Trigger in order to override the message.
In order to do that, you need to:
1. Visit AWS Lambda console
2. Go to functions tab and click Create function.
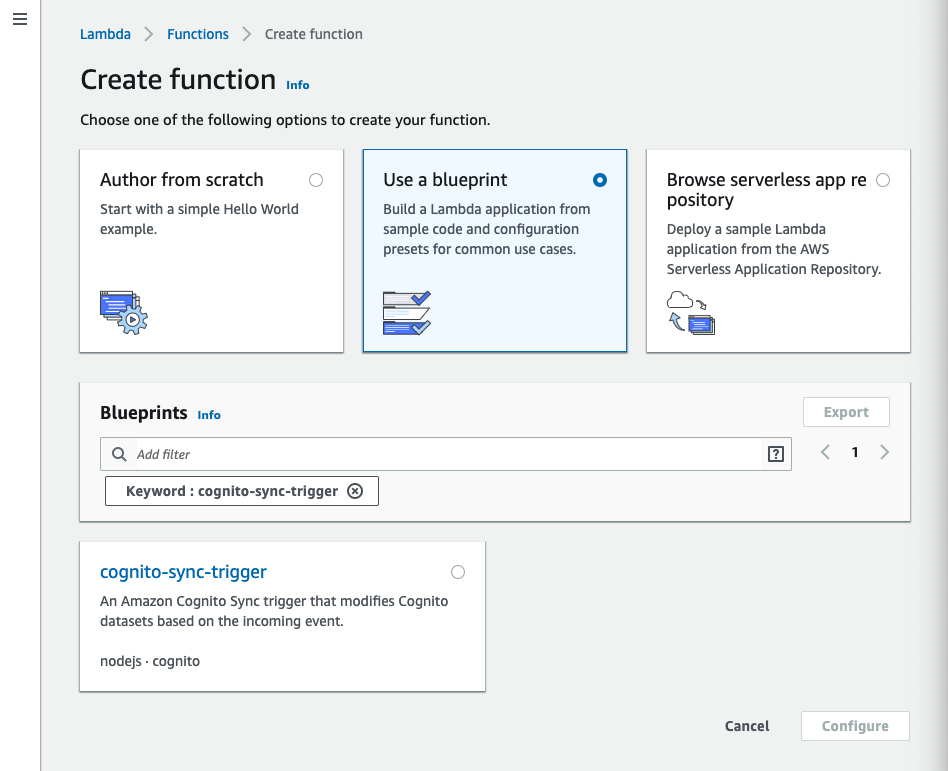
3. Click on Use a blueprint card and search for cognito-sync-trigger -> select the cognito-sync-trigger card and press Configure button.
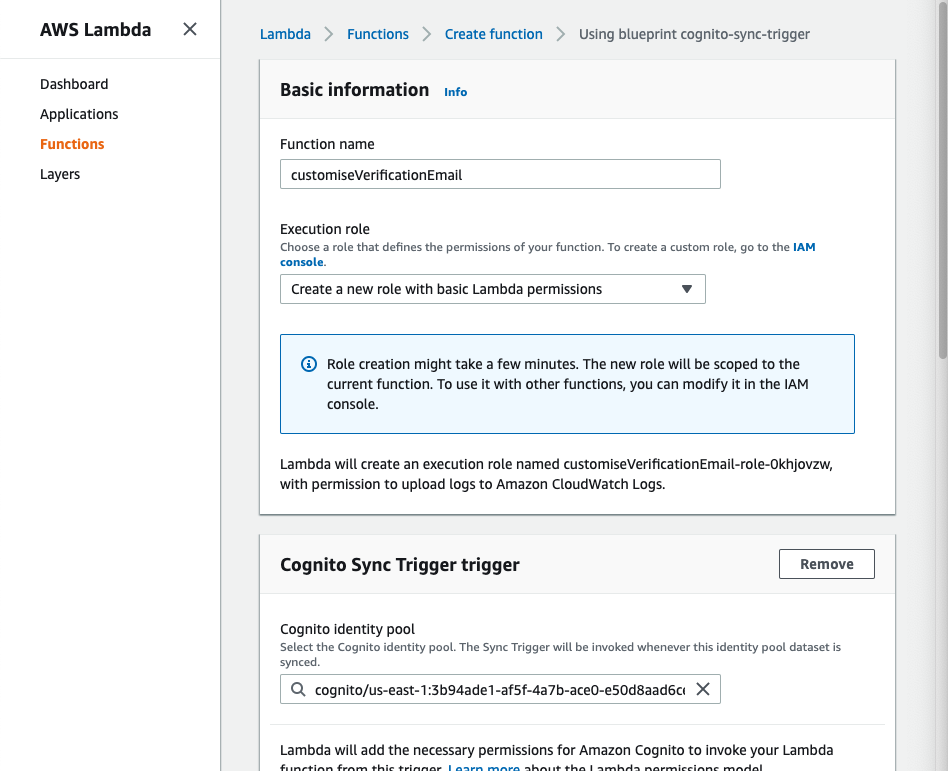
4. Basic information card:
Enter desired function name. In my case it will be customizeVerificationEmail.
In Execution role tab you can use an existing role with proper permissions or let AWS create a new role with basic Lambda permissions. Let’s choose Create a new role with basic Lambda permissions
5. Cognito Sync Trigger trigger card:
Choose your Cognito identity pool from the picker.
You can Enable the trigger now, or create it in a disabled state for testing (you can enable it later).
6. Press Create function. You can’t configure the function yet. It will be enabled after creating the function.
7. LOOK HERE IF YOU ONLY WANTED THE LAMBDA FUNCTION CODE – Scroll down to the Function code card.
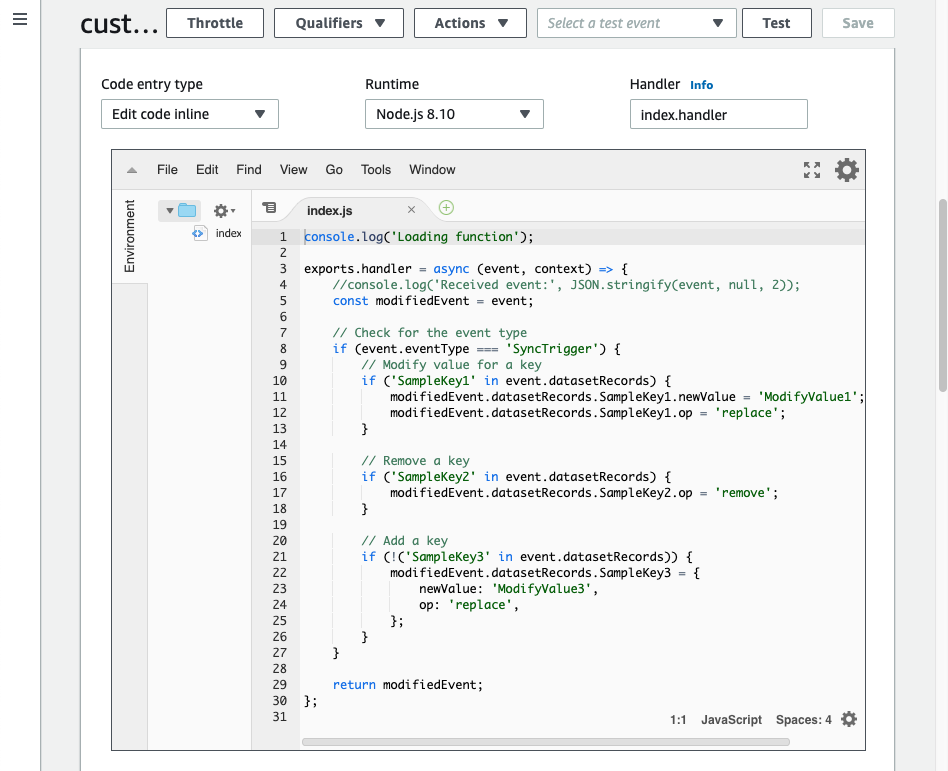
You’ll see a standard boilerplate function there. You can delete it and replace it with your own function. In my case it’ll look like that:
|
|
E-mail templates tend to be huge, so I’ve replaced mine with a placeholder.
See that ➡️PLACE YOUR HTML HERE⬅️ placeholder in forgotPasswordMessage variable? That’s the place where you want to place you html code.
Of course you can view my html template here.
❗️ALERT – you need to place a verification code in html️️❗️
You need to place ${event.request.codeParameter} somewhere in the HTML code. It will be replaced by the verification code the user need to copy.
You can also use params from Cognito, like ${event.userName} which is replaced by a Cognito username.
8. Head to Cognito panel, click on Triggers on the left navbar and in the Custom message trigger choose your Lambda function that you’ve just created.
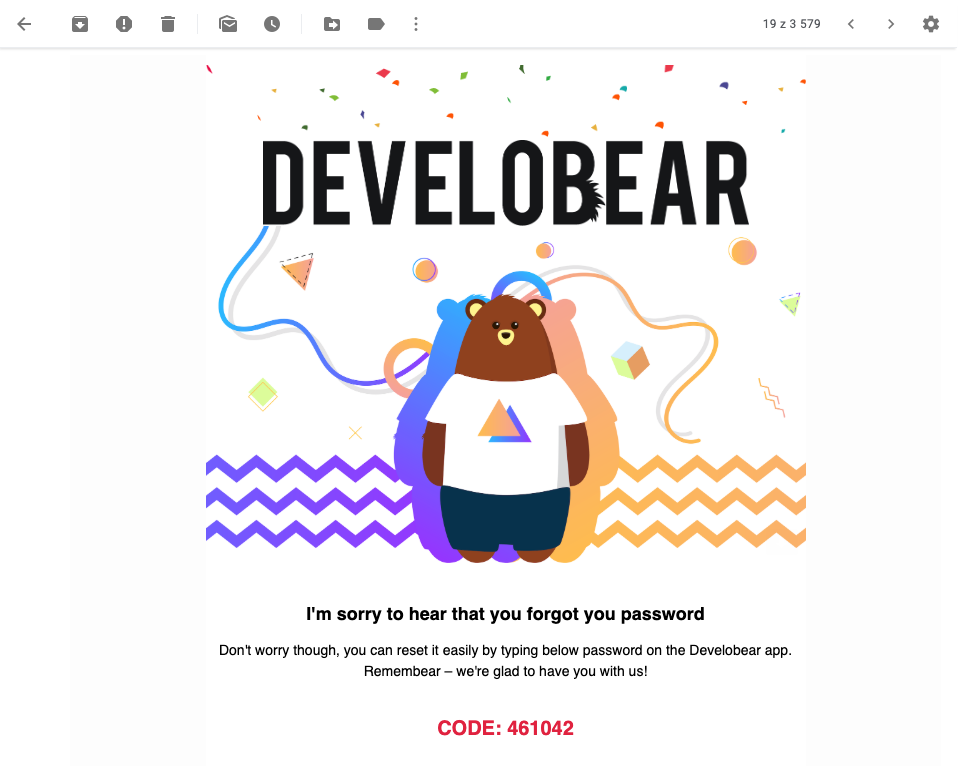
The result
The result should look something like that:
That’s it. It’s not hard to do that, but it took me a long time to get it working in the first place, so I thought I could share it with you.
Hey, one more thing. I’ve created the graphics with the help of www.vecteezy.com