
Table of content
In this tutorial, we’ll show you how to use a Redis Data Capsule to hold web-scraping tasks in a queue. Those tasks will be completed in a background process, so the user has a smooth, uninterrupted web experience with no tasks slowing the web page down.
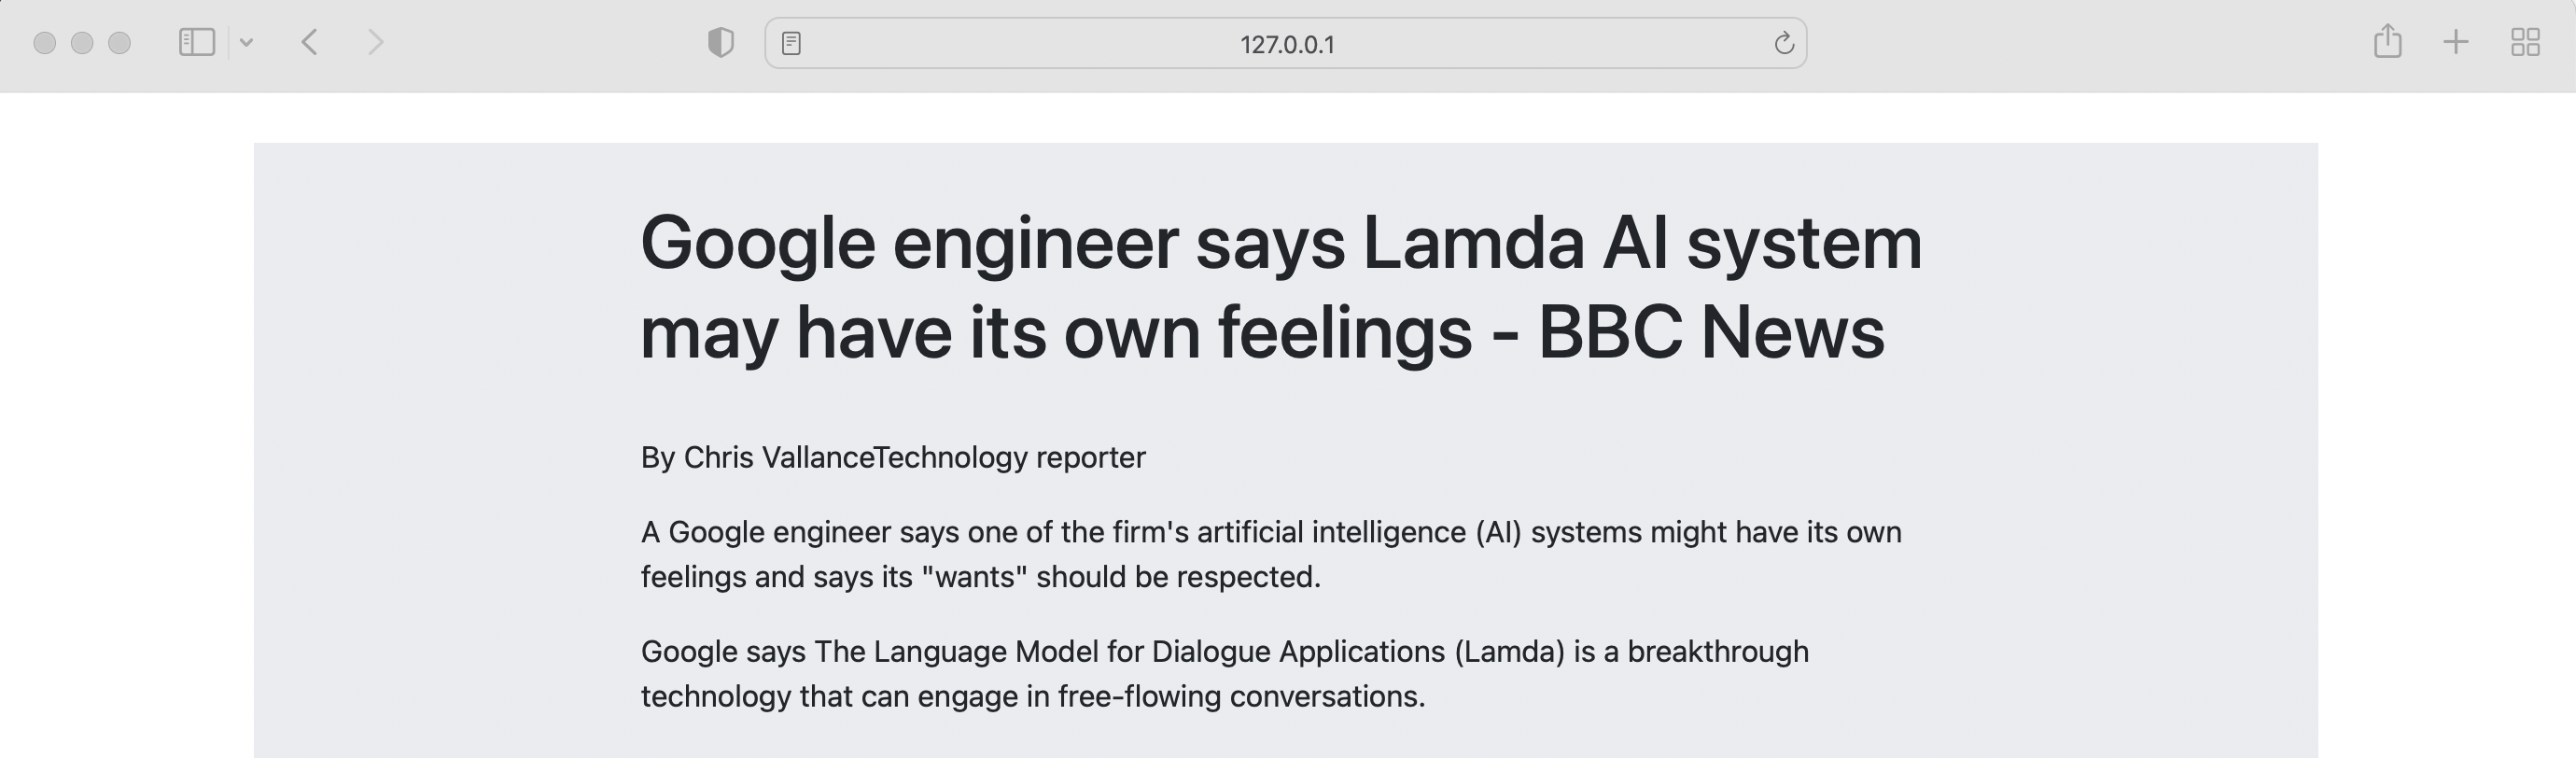
Our app will create an ad-free, text-only version of a web page (for example, a CNN.com article) that the user provides in the form of a URL.
Our reader mode app will:
Make sure you have these technologies and accounts setup and ready to follow this tutorial:
Now that we have all the requirements in place, we can set up our project. Start by creating and navigating to the project folder by entering these commands in a terminal:
mkdir redis-queue-tutorial
cd redis-queue-tutorial
From this point on, we’ll refer to
redis-queue-tutorial
as the project root folder.
Creating a virtual environment will allow our Python project to use packages isolated, avoiding disrupting the dependencies of other projects on the system.
In a terminal, run the following command in the project root folder to create a virtual environment:
python3 -m venv env
Activate the virtual environment with one of these commands:
MacOS
source env/bin/activate
Windows
.\env\Scripts\activate
After activating the virtual environment, the name we set for the environment,
env
, should appear in your terminal alongside your current line. This means the environment was successfully activated.

We can now install packages to the virtual environment we created in the previous step.
Run the command below:
pip install flask bs4 redis rq gunicorn lxml
These are the packages we install with this command:
flask
installs the Flask web framework, which we’ll use to set up views, tasks, and the web application.bs4
installs Beautiful Soup, which we’ll use to scrape and parse the HTML from the client’s provided URL.redis
installs Redis, which we’ll use to run a local Redis server and provide the connection to both the local server and the Redis Data Capsule.rq
installs RQ (Redis Queue), which we’ll use to add jobs to a queue and initialize a worker to work on that queue in a background process.gunicorn
installs Gunicorn, which will help Code Capsules set up our project.From the project’s root folder, enter the
git init
command in the terminal to initialize a Git repository for the project.
Setting up a Git repository allows us to track changes we make to the project and will help us push the app to production from a local machine.
In the root folder, create a
.gitignore
file and add the text below to it:
env/
dump.rdb
The
.gitignore
file will stop Git from tracking our virtual environment folder. The virtual environment folder is not needed when pushing the application to production.
Create a new repository on GitHub. Then run the command below from the terminal (make sure to replace
username
and
repository_name
with your own):
git remote add origin git@github.com:username/repository_name.git
Now the local repository is linked to the external GitHub repository.
Now we can start to put our application together.
First we will create our Flask app. Create a new folder called
queue_app
in the root directory. In the
queue_app
folder, create a file called
__init__.py
and paste these lines of code into it:
import os
from flask import Flask
import redis
from rq import Queue
app = Flask(__name__)
r = redis.Redis()
q = Queue(connection=r)
from queue_app import views
from queue_app import tasks
The code in the
__init__.py
file initializes a Flask app, connects to a local Redis server, and creates a queue that will store our tasks later.
The database we are currently connecting to is our local Redis server, but later we will change this to connect to the Redis Data Capsule through an environment variable.
This file also imports the views and tasks we will be creating later on.
Next, we will create the
.html
file for our homepage. Inside the
queue_app
folder, create a new folder called
templates
. In the
templates
folder, create a new file called
index.html
, and paste the following code in it:
<!DOCTYPE html>
<html lang="en">
<head>
<meta charset="UTF-8">
<meta http-equiv="X-UA-Compatible" content="IE=edge">
<meta name="viewport" content="width=device-width, initial-scale=1.0, shrink-to-fit=no">
<link rel="stylesheet" href="https://cdn.jsdelivr.net/npm/bootstrap@4.3.1/dist/css/bootstrap.min.css" integrity="sha384-ggOyR0iXCbMQv3Xipma34MD+dH/1fQ784/j6cY/iJTQUOhcWr7x9JvoRxT2MZw1T" crossorigin="anonymous">
<link rel="stylesheet" href="{{ url_for('static', filename='styles.css') }}">
<title>Job Queue</title>
</head>
<body>
<div class="jumbotron jumbotron-fluid">
<h5 class="mt-3">Reader Mode</h5>
<div class="card-body">
<form action="/">
<div class="form-group">
<label>Enter the url of the webpage you would like to read:</label>
<input type="url" class="form-control" name="url" placeholder="Enter URL" required>
</div>
<button type="submit" class="btn btn-primary">Submit</button>
</form>
</div>
</div>
</body>
</html>
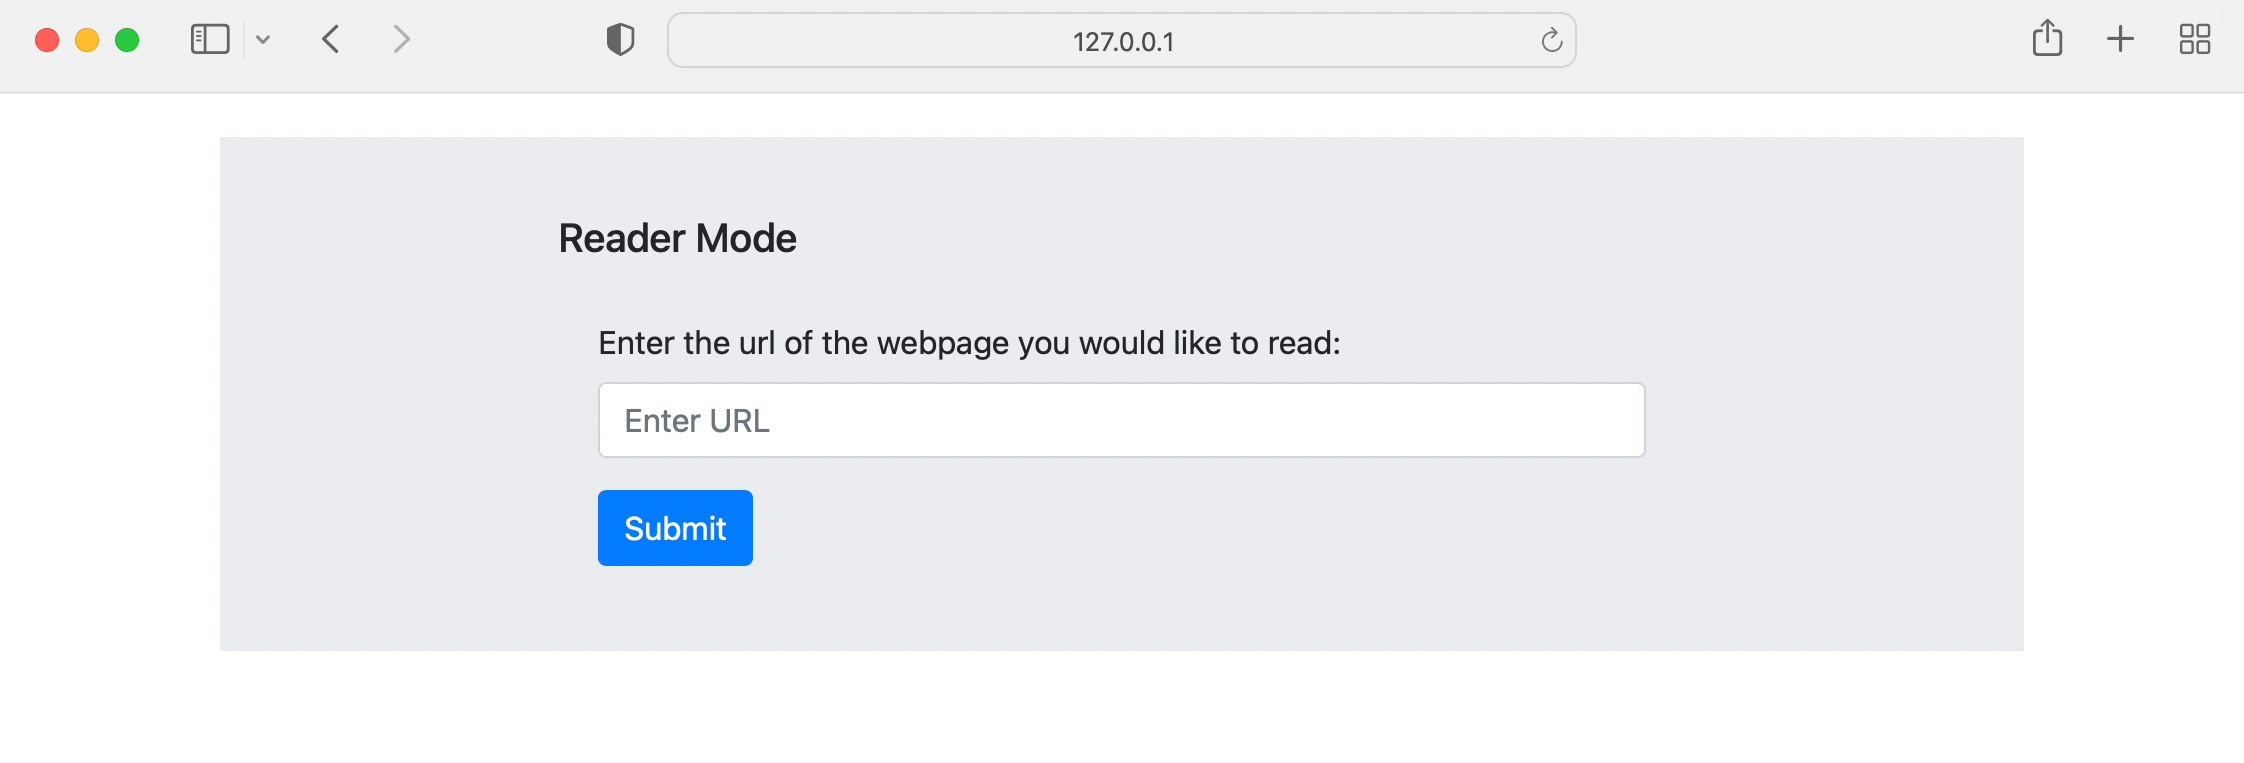
This is a simple HTML page with a form, input, and button that prompts the user to submit a URL. The page also has some styling, which we will address later. This page’s form will allow the user to send a request to our app with the URL attached to that request.
Now let’s create the view that will render the homepage HTML and handle requests from the user.
Inside the
queue_app
folder, create a new file called
views.py
and paste this code inside:
import hashlib
from queue_app import app
from queue_app.tasks import scrape_url
from queue_app import q
from queue_app.__init__ import r
from flask import redirect, render_template, request, url_for
from rq.job import Job
@app.route("/", methods=["GET", "POST"])
def add_task():
if request.args:
url = request.args.get("url")
job_id = hashlib.md5(url.encode()).hexdigest()
q.enqueue(scrape_url, url, job_id = job_id, result_ttl=5000)
return redirect(url_for(f"get_results", job_key=job_id))
return render_template("index.html")
Here, we create a view that returns the homepage for the user. It also detects whether the user has submitted a request and if so, it does a few things:
Next we need to create the task that will scrape the user’s URL, and the final results page to display the tasks results.
In the
queue_app
folder, create a new file called
tasks.py
and add the following lines of code:
from urllib import request
from bs4 import BeautifulSoup
def scrape_url(url):
try:
r = request.urlopen(url)
if "cnn" in url:
tag_text = "div"
class_text = "zn-body__paragraph"
else:
tag_text="p"
class_text = None
soup = BeautifulSoup(r.read().decode(), "lxml")
title = soup.title.text
paragraphs = [p.text for p in soup.find_all(tag_text, class_text)]
return paragraphs, title
except Exception as e:
print(e)
paragraphs = ["The url you submitted is invalid or cannot be scraped."]
title = "Failed to access url"
return paragraphs, title
This file creates the
scrape_url
function that takes in the user’s URL as an argument.
In this function, a few things happen:
try
block.Next we will add the HTML for the results web page. Inside the
templates
folder, create a file called
results_page.html
and paste the following code into it:
<!DOCTYPE html>
<html lang="en">
<head>
<meta charset="UTF-8">
<meta http-equiv="X-UA-Compatible" content="IE=edge">
<meta name="viewport" content="width=device-width, initial-scale=1.0, shrink-to-fit=no">
<link rel="stylesheet" href="https://cdn.jsdelivr.net/npm/bootstrap@4.3.1/dist/css/bootstrap.min.css" integrity="sha384-ggOyR0iXCbMQv3Xipma34MD+dH/1fQ784/j6cY/iJTQUOhcWr7x9JvoRxT2MZw1T" crossorigin="anonymous">
<link rel="stylesheet" href="{{ url_for('static', filename='styles.css') }}">
{% if title %}
<title>{{title}}</title>
{% else %}
<title>Reader Mode Loading</title>
{% endif %}
</head>
<body>
{% if paragraphs %}
<div class="jumbotron jumbotron-fluid">
<h1>{{ title }}</h1>
<br>
{% for paragraph in paragraphs %}
<p>{{paragraph}}</p>
{% endfor %}
</div>
{% else %}
<div class="jumbotron jumbotron-fluid" id="load-page">
<script>setTimeout(() => {location.reload(true)}, 5000)</script>
<h1>Your request is in the queue.</h1>
<p>Current number of jobs in the queue: {{ q_len }}</p>
<p>This page will refresh every 5 seconds until your job has been completed.</p>
<div class="loader"></div>
</div>
{% endif %}
</body>
</html>
This page checks to see if a body text has been returned by the queued task. If not, it displays some text informing the user that the result is loading, as well as the number of items in the queue. If the results haven’t been returned, the page will reload every five seconds until they have returned.
Once the results are returned, the page displays the title and paragraphs returned from the task.
Now we will create the view that will render the
results_page.html
HTML. The view will also check the queue for the user’s completed task and return the results once complete.
Open up the
views.py
file and append these lines of code to the end of the file:
@app.route("/results/<job_key>", methods=['GET'])
def get_results(job_key):
q_len = len(q.jobs) + 1
job = Job.fetch(job_key, connection=r)
# Print errors to console
try:
if type(job.result) != "list":
print(job.result)
elif job.result[2]:
print(job.result[2])
except:
pass
if job.is_finished:
return render_template("results_page.html", paragraphs=job.result[0], title = job.result[1]), 200
else:
return render_template("results_page.html", paragraphs=False, q_len=q_len), 202
This view takes the user’s task ID as
job_id
and fetches that job from the queue. It then checks if the job is complete. If so, it returns the rendered HTML with the arguments needed to display the text. If the task is incomplete, it returns the rendered HTML with the arguments needed to display the loading page.
Now we have to create the worker that will listen to our Redis server and work on the queue when tasks are added. In the project root directory, create a file called
worker.py
and paste the following lines of code in it:
import os
import redis
from rq import Worker, Queue, Connection
listen = ['default']
conn = redis.Redis()
if __name__ == '__main__':
with Connection(conn):
worker = Worker(list(map(Queue, listen)))
worker.work()
This worker connects to our Redis server, and when run, creates a worker linked to our Redis queue. The worker will listen to the queue, and when jobs are added, it will perform the tasks in the queue one at a time.
The two HTML pages we have created so far use Bootstrap styling that you can see linked in the head of the file.
Flask requires a particular file structure for static files. In the
queue_app
folder, create a folder called
static
. In the
static
folder, create a file called
styles.css
and paste in the following lines of code:
.jumbotron{
text-align: left;
margin:  2% 10%;
padding: 2% 15%;
}
.loader {
border: 16px solid #f3f3f3; /* Light grey */
border-top: 16px solid #c7ccce; /* Blue */
border-radius: 50%;
width: 120px;
height: 120px;
animation: spin 2s linear infinite;
margin: auto;
}
@keyframes spin {
0% { transform: rotate(0deg); }
100% { transform: rotate(360deg); }
}
#load-page{
text-align: center;
}
@media only screen and (max-width: 600px) {
h1 {
font-size: 25px;
}
.jumbotron{
margin: 0;
}
}
This CSS will format our text on the homepage and results page. It also adds some responsiveness for smaller screens, and gives some animation to the loading screen we created.
In the head of your file, you might have noticed this link to a style sheet:
<link rel="stylesheet" href="{{ url_for('static', filename='styles.css') }}">
This links to the CSS file we created using the
url_for
function.
In the project’s root folder, create a file called
run.py
and add the following code:
from queue_app import app
if __name__ == "__main__":
app.run()
Now, to test our application, we will need three terminal windows.
In the first window, we can run our Flask app. Enter these lines into your terminal to run the app:
export FLASK_APP=run.py
flask run
You should see this output in your terminal, which shows your web application is running on your local host:
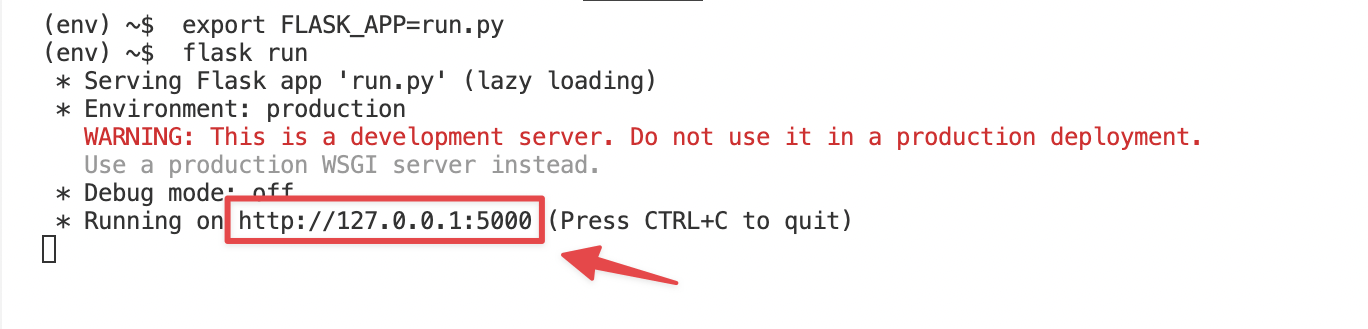
You can click the link to open your homepage in your browser.
Our webpage is up, but we still need to start up our local Redis server and
worker.py
if we want our webpage to have any functionality.
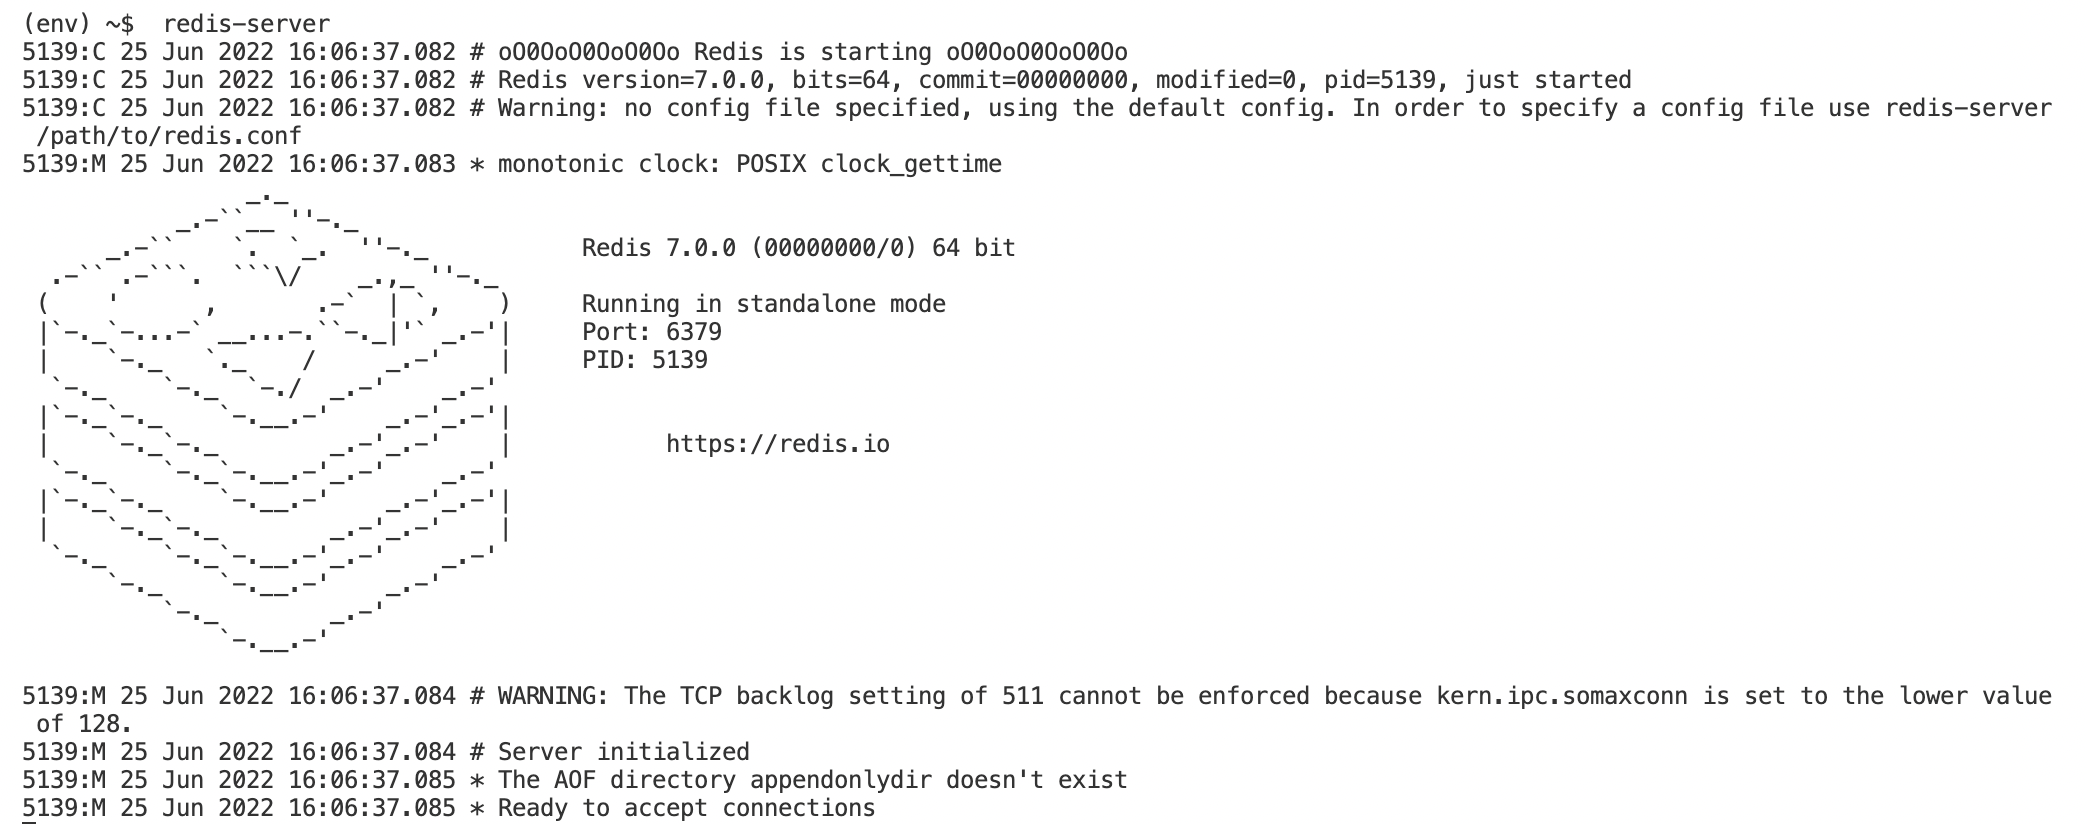
In a new terminal, run the following line of code:
redis-server
This will start up your local Redis server and will show this output:
Next we need to start up our worker. In a new terminal window, run the following command:
python3 worker.py
Note On macOS you may have to run the following command to allow multiprocessing in the worker before running the command above which starts the worker:
export OBJC_DISABLE_INITIALIZE_FORK_SAFETY=YES
This will start up your worker, which will begin listening to the Redis server. You should see this output:

Now we can try out the web app by inserting a URL into the form and clicking “Submit”.
You should see a page loading.
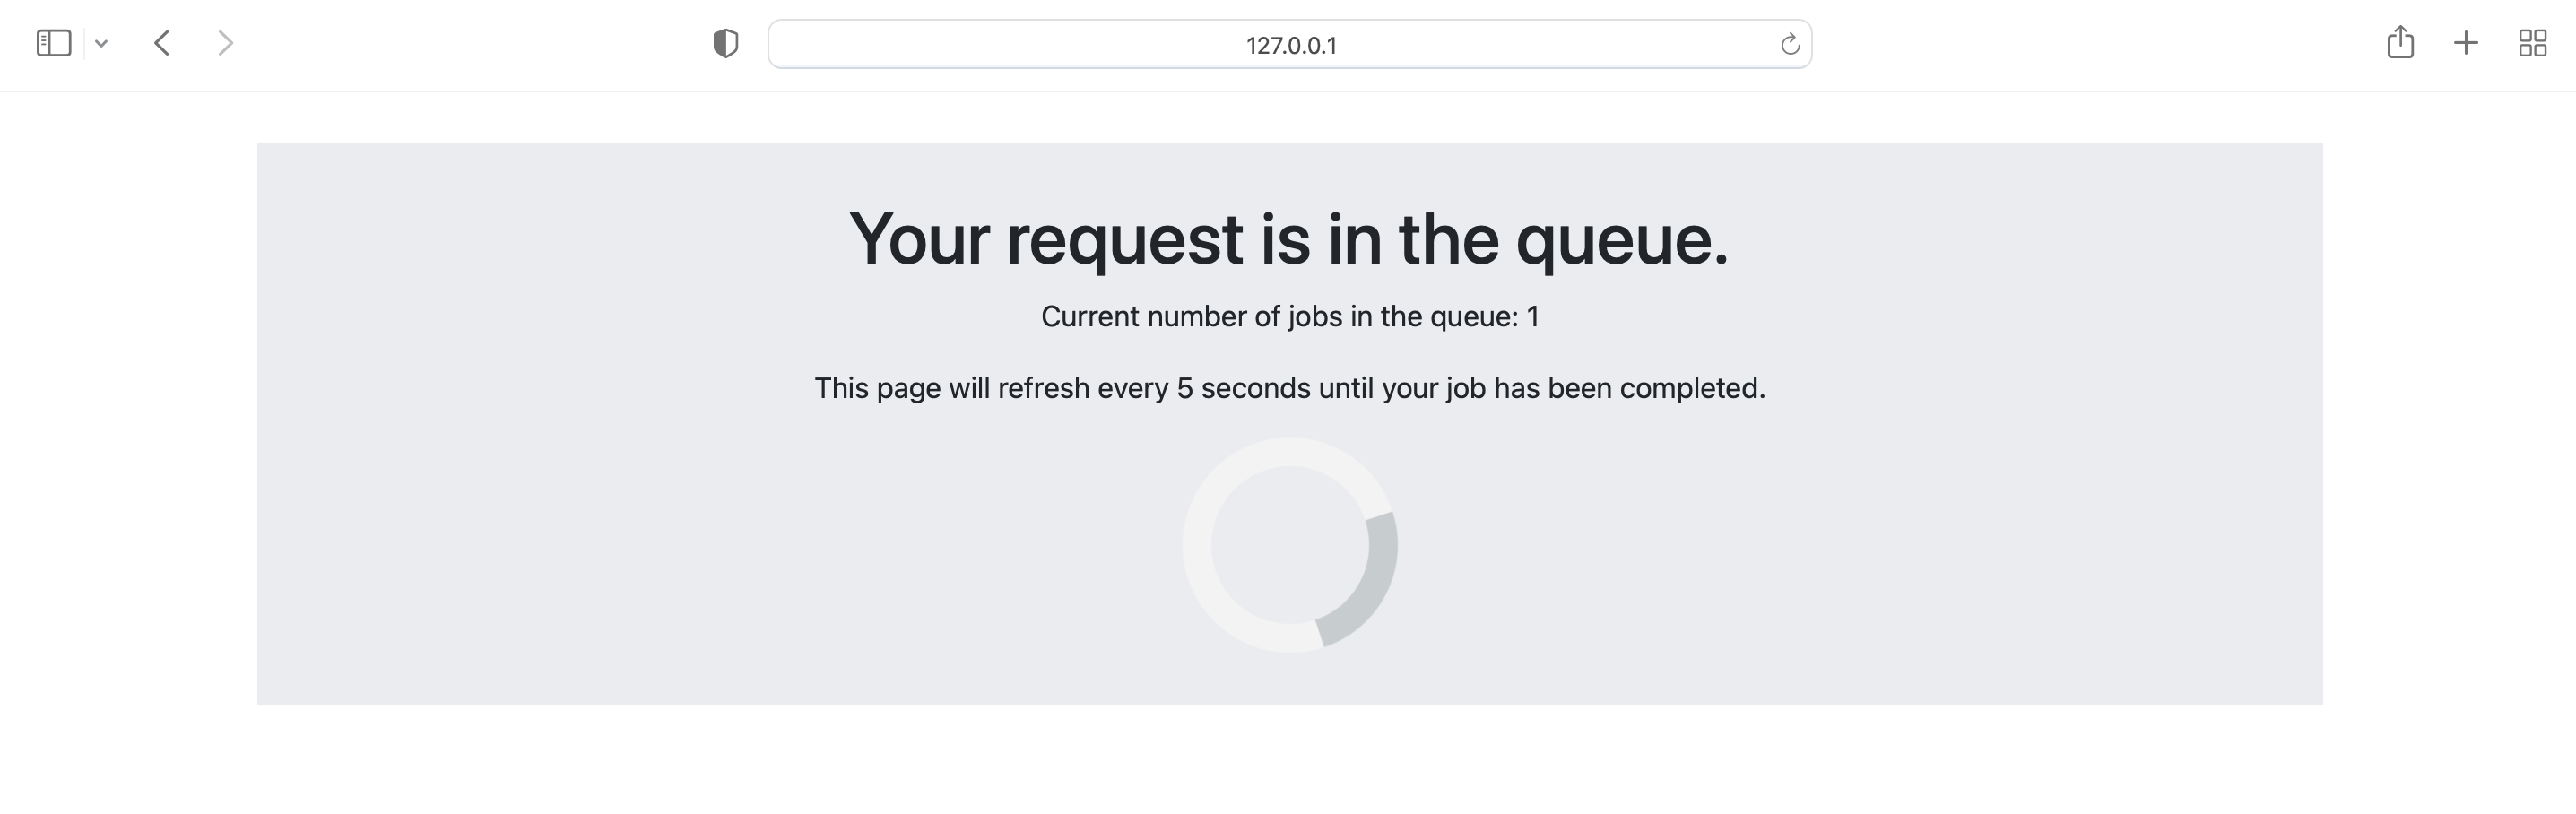
This means the job is in the queue, but has not been completed yet. The page will refresh every five seconds until the results from the job are returned by the task.
When the results are in, the webpage should show an output like this on the next refresh:
Now that our app is working, we can prepare for deployment on Code Capsules.
First, we need to change the Redis connection in the
worker.py
and
__init__.py
files to ensure that they connect to the Redis Data Capsule we will create, rather than our local Redis server.
Replace the code in the
worker.py
file, with the lines of code below:
import os
import redis
from rq import Worker, Queue, Connection
listen = ['default']
redis_url = os.getenv('REDIS_URL')
conn = redis.from_url(redis_url)
if __name__ == '__main__':
with Connection(conn):
worker = Worker(list(map(Queue, listen)))
worker.work()
Replace the code in the
__init__.py
file, with the code below:
import os
from flask import Flask
import redis
from rq import Queue
app = Flask(__name__)
redis_url = os.getenv('REDIS_URL')
r = redis.from_url(redis_url)
q = Queue(connection=r)
from queue_app import views
from queue_app import tasks
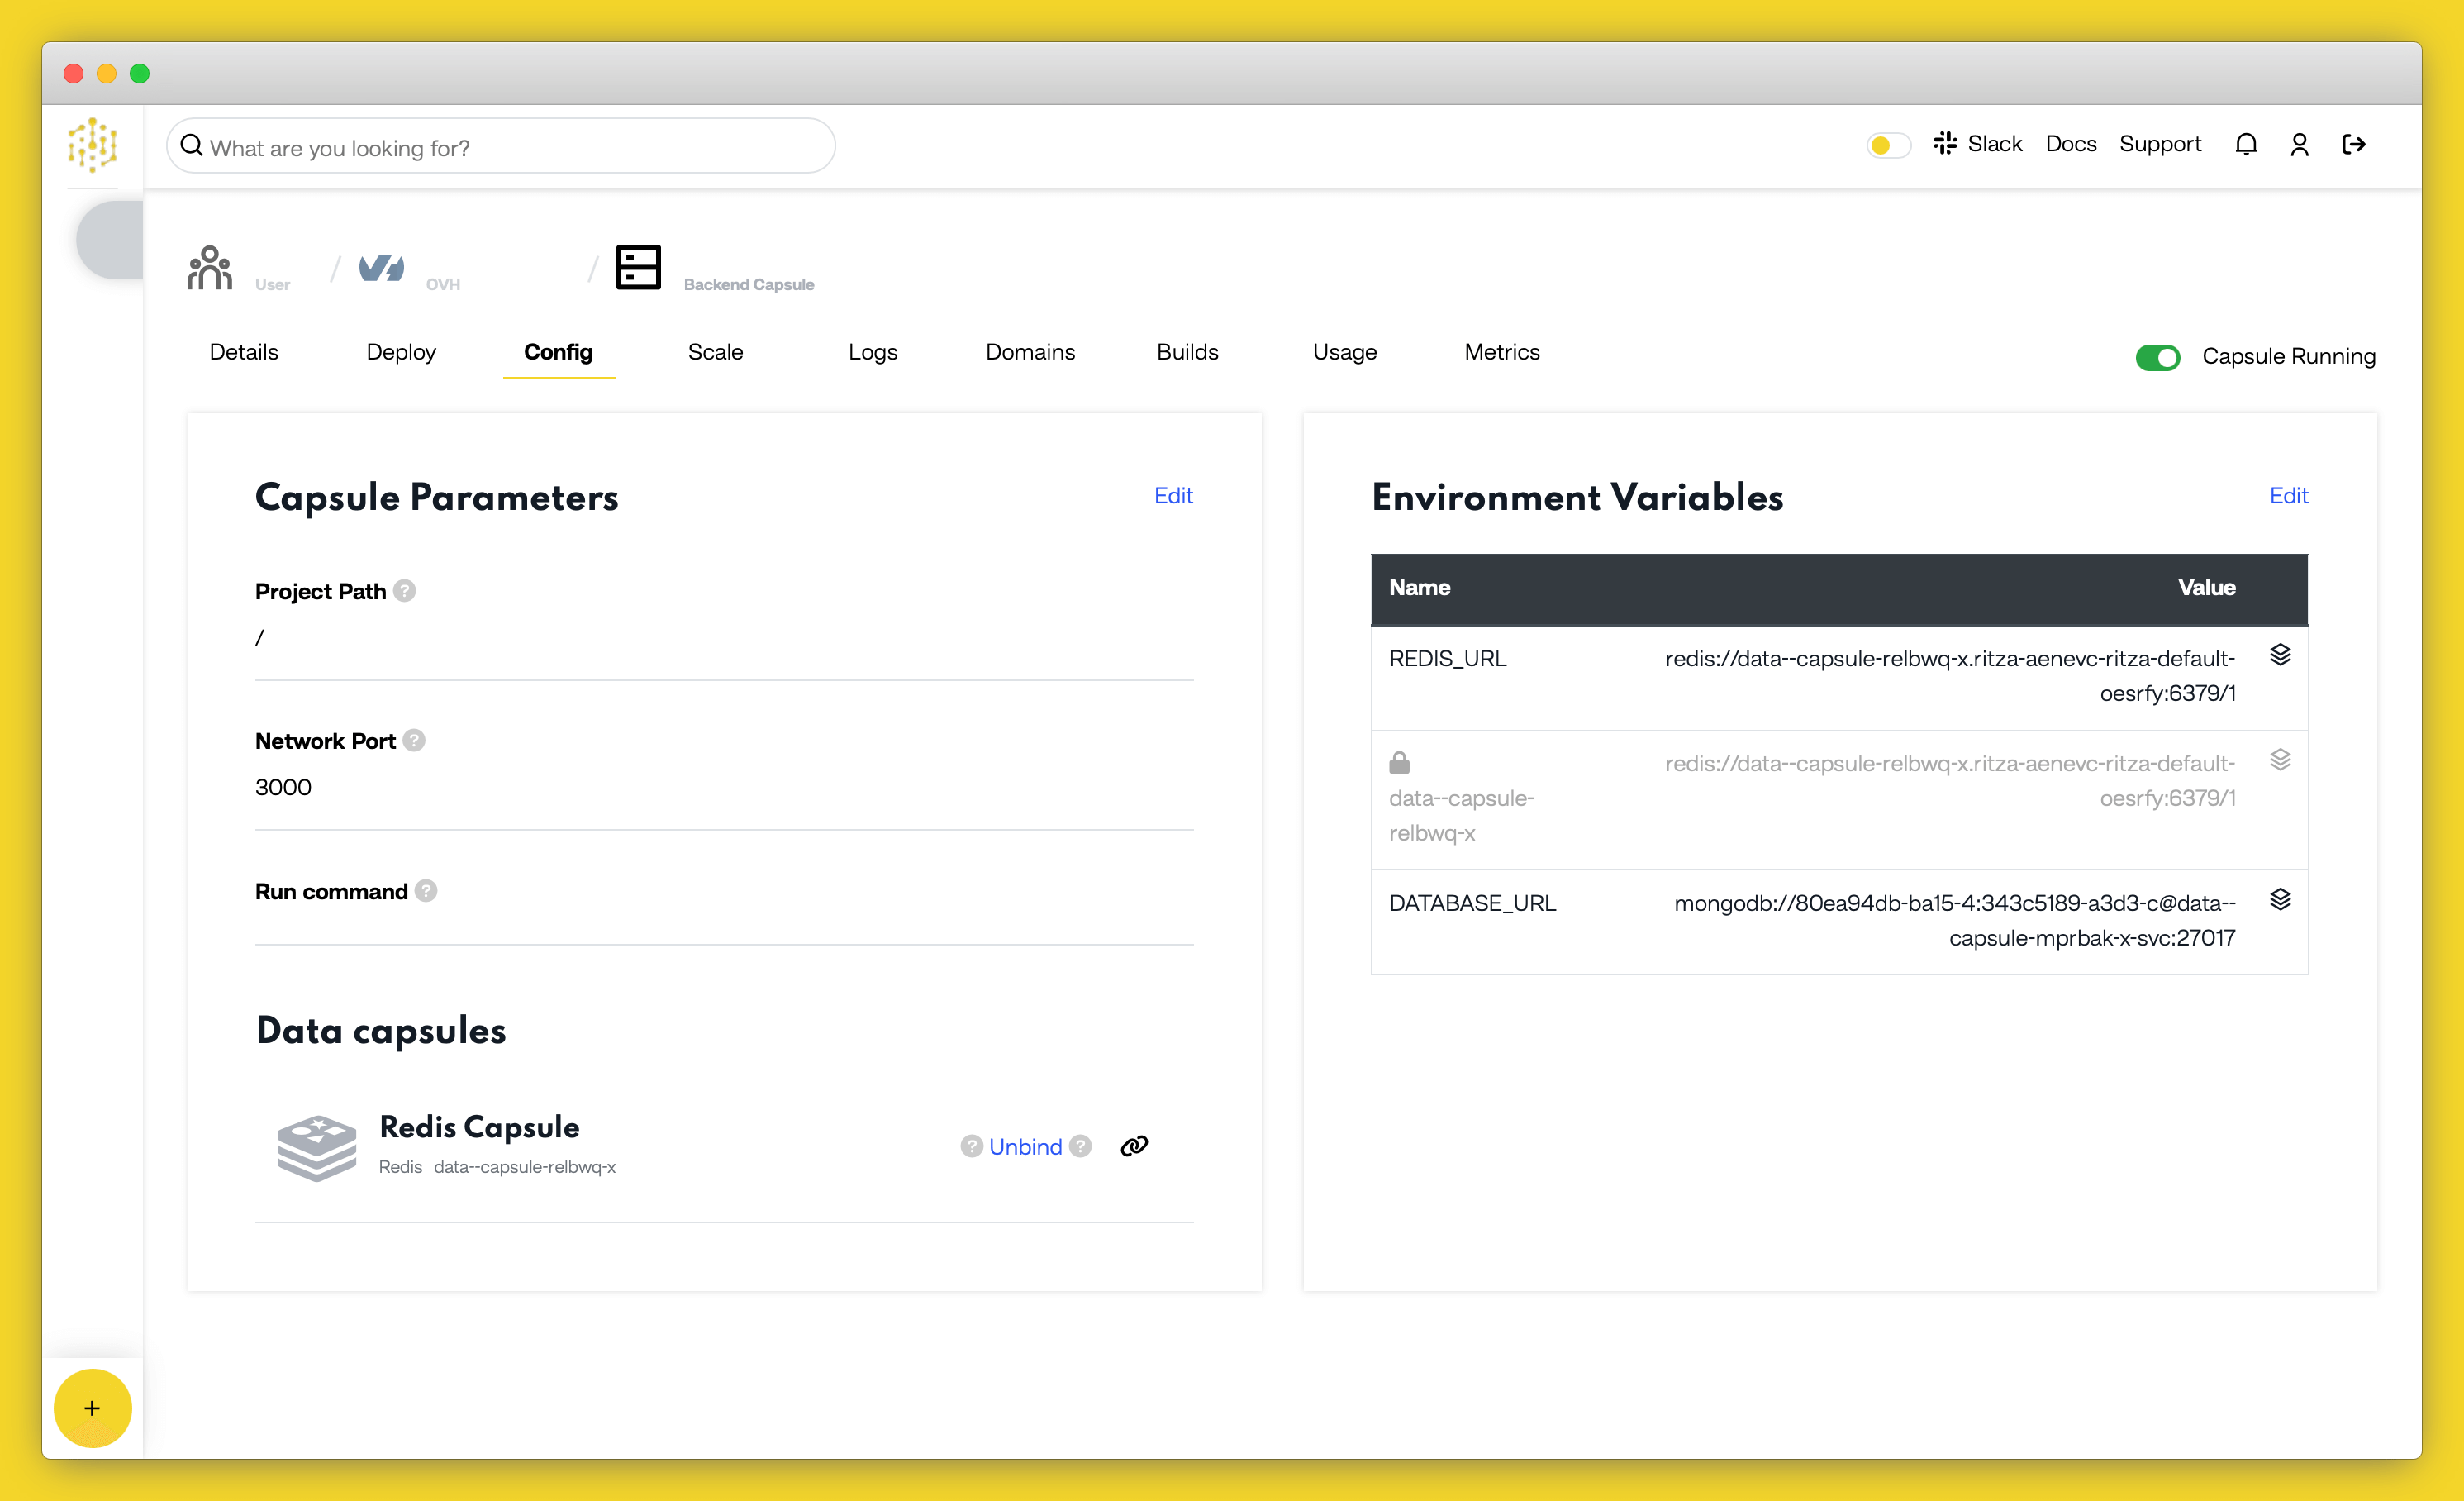
Here, we connect our app to the Redis Data Capsule we will create by accessing an environment variable called
REDIS_URL
.
This environment variable will be defined by Code Capsules once we have created our Redis Data Capsule and Backend Capsules.
requirements.txt
Now we need to create a
Procfile
. This file tells Code Capsules which application to run as our web application through the
gunicorn
module.
Create a file called
Procfile
in the project root directory and paste in the following text:
web: gunicorn queue_app:app
Next, create a
requirements.txt
file, which is a file that contains the information about our project’s dependencies. Code Capsules will use this file to deploy our application.
In the command line, make sure you are in the project root folder and enter this command:
pip freeze > requirements.txt
Next, we will push our code to our Git repository with the following commands in the terminal:
git add .
git commit -m "commit message"
git branch -M main
git push -u origin main
Finally, we will create our capsules. We need to create three capsules, our Redis Data Capsule, a Backend Capsule for our worker process, and another Backend Capsule for our web app.
A Capsule provides the server for hosting an application on Code Capsules.
Click the yellow
+
button, and follow the instructions below to create a Data Capsule:
Now to create a capsule for our Flask application. Create a new Backend Capsule and link it to your GitHub repository.
Procfile
we created will run our Flask app for us.Now you need to bind the two capsules together. Navigate to the “Config” tab of the Backend Capsule you’ve just created. Scroll to the “Bind Data Capsule” section and click on the “Bind” option in the bottom left. This enables the capsule to use the Redis database in the Data Capsule.
Finally, we will create the capsule that will run our worker. Create a new capsule, select “Backend Capsule” type, and then select your GitHub repository in the list.
Now enter
python3 worker.py
in the run command. This build command will provide special information to the capsule about how it should be built. The command we entered tells the capsule to run the worker as the main app rather than the Flask web application.
Code Capsules will automatically build your application when you’ve finished creating the Capsule.
Once your application is live, you can view the build log by selecting the “Deploy” tab and clicking the “View build log” link in the “Builds” section.
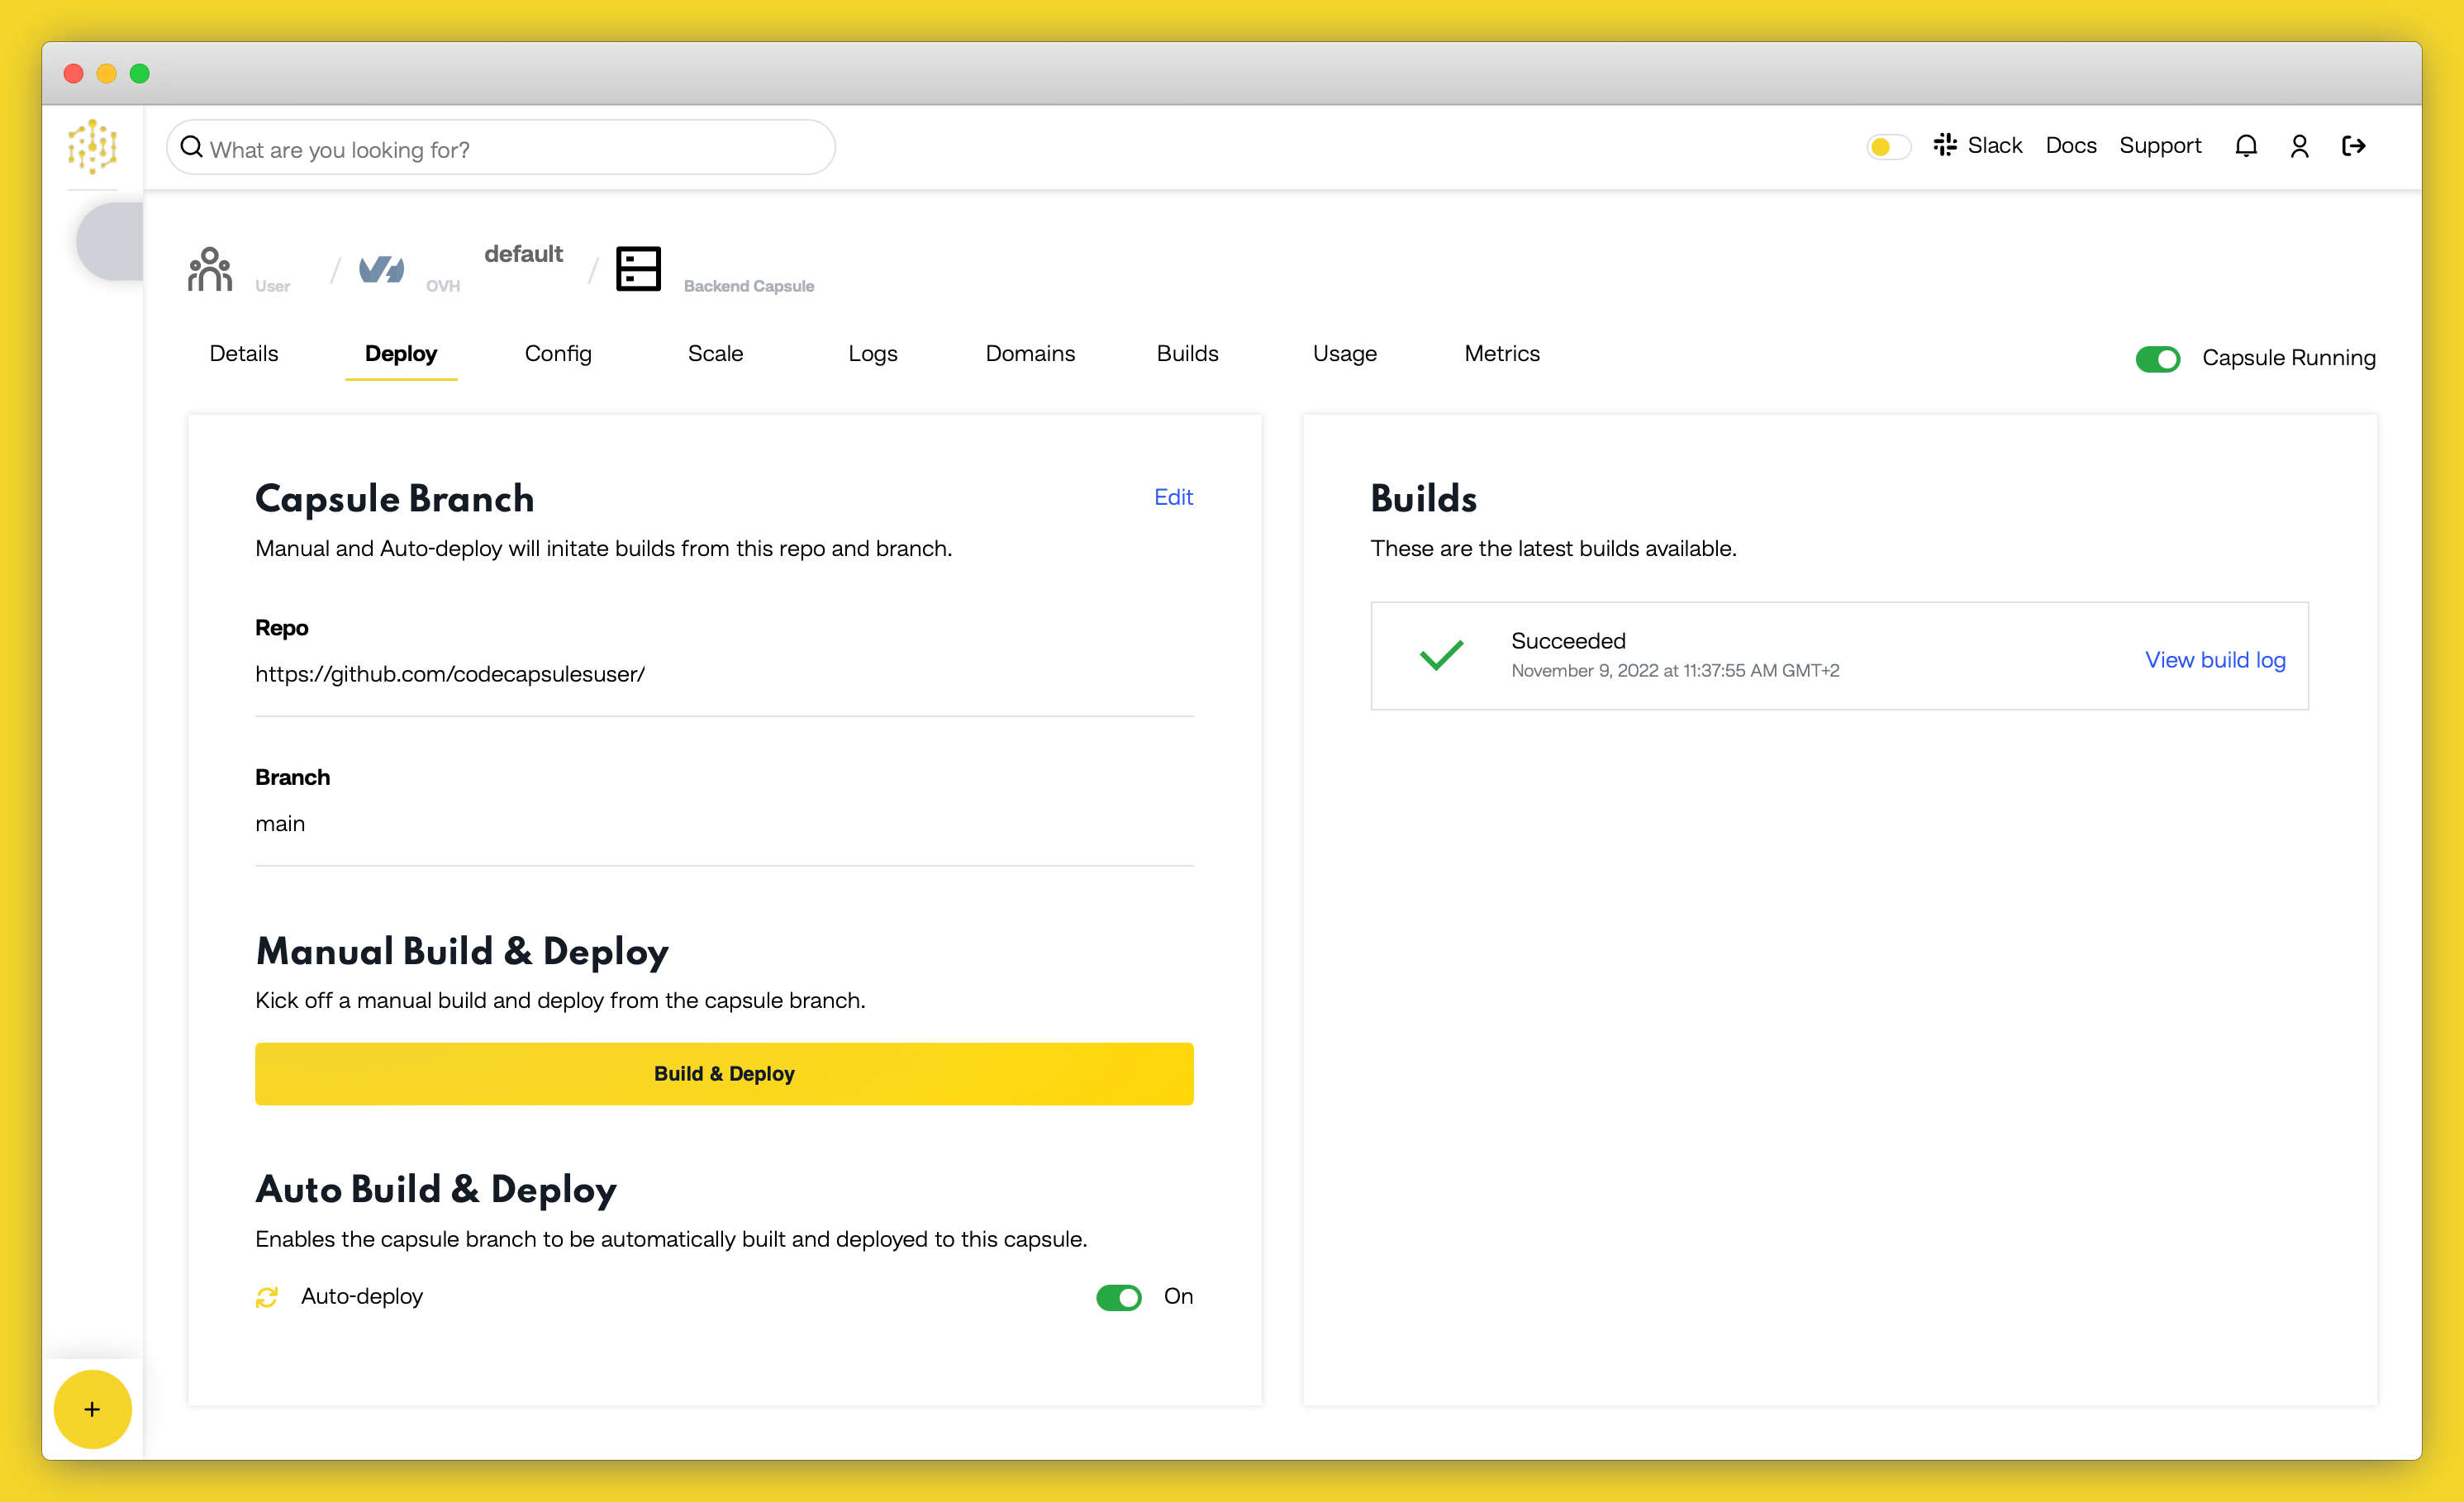
Once the build is complete, a URL link will appear in the URL section in the “Details” tab in our Flask web app Capsule. Click the link and you should see your deployed application.
We created two Backend Capsules for this project because running two processes (the web process and worker process) on the same capsule will not scale properly in practice. If you wish to run both processes on the same capsule, to save money on a smaller project that will not need to scale, there is a method to do this.
To use one Backend Capsule to run the web app, create a file called
codecapsules.sh
in your project root directory. In that file, paste the following text:
gunicorn run:app --daemon
python3 worker.py
Then change the
Procfile
text to the following:
web: sh codecapsules.sh
Now create a single Backend Capsule, link it to your GitHub repository, and do not add a build command. Bind it to your Redis Data Capsule, and once it has finished building, it should deploy with the web process daemonised in the background and the worker in the foreground.
In this tutorial, we made use of background processing to handle tasks to improve the user’s experience. You could expand on this by:
Table of content