Most web applications will require some form of authentication and user management as they grow. Serverless Cloud applications are no different. Fortunately, it’s easy to add this feature to your Serverless Cloud application thanks to the simplicity of Serverless Data. This article will explore how authentication works at a fundamental level, and show you how to implement it in Serverless Cloud with the help of a couple of npm packages.
Creating the Serverless Cloud App
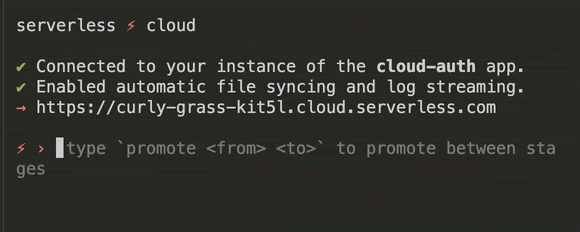
Create a new empty directory called cloud-auth, then open this new empty directory in your favorite IDE. This will be the directory containing your app files. Then, using your IDE’s built-in terminal, initialize a new Serverless Cloud project by entering the following command:
You may be prompted to login if you haven’t already, then the CLI will ask you to create a new application and select a template to get started with. Choose the JavaScript API template.

After you make your selection, a new app will be generated in the directory you just created. The CLI will connect to your development sandbox and start the interactive shell.
We will need two NPM packages for authentication, the first is "jsonwebtoken" for signing and verifying tokens, and the other is "bcryptjs" for hashing passwords. You can install them by running the following command in the interactive shell.
To sign JSON Web Tokens, you’ll also need a secret key. Generate a strong key using your favorite tool and securely save it as a Parameter on Serverless Cloud Dashboard. To do that, type open in the cloud shell to open your app dashboard page on the browser, then click on “Parameters” > “Add new param”. Make sure you name your param JWT_SECRET and add the key you generated in the “Value” field.

With both of these packages installed, and the parameter set, we are now ready to develop our application. We’ll start with the signup functionality because everything else depends on it.
Adding Signup Functionality
At a high level, to add simple signup functionality, you’ll need to validate the user data, save it to the database, and finally generate a token for the client to include in subsequent authenticated requests. To do that, open the index.js file, and replace its sample content with the following code:
Let’s break it down in more detail. We’re first validating the request to make sure it includes a username and password, that the username doesn’t already exist, and that the password is at least 8 characters long. You may want to add more password validation using a package like password-validator, but we’ve omitted that to keep it simple for this demonstration.
After validation, we want to save all the user data to the database, but of course, not the password, because it should never be saved in plaintext. Instead, we’re securely hashing the password with bcrypt and saving that, so that we can easily verify it during login as we’ll see in the next section. Other than hashing, we’re saving the username and user profile, which is an object that could contain optional data like email and phone number.
Finally, we need to give the client a token to save locally and reuse in subsequent requests to authenticate the user. The simplest and most secure way to do this is using JSON Web Tokens. All we have to do is pass the data payload and secret parameter we added earlier, and return the generated token as a response. Just make sure the payload does not contain any sensitive data like the password or the hash. We’re also adding an `expiresIn` setting of 24 hours so that they token will only be valid for so long. You can adjust this for your use case, but generally you should keep JSON Web Token expirations fairly short.
Adding Login Functionality
After the user signs up, they’ll need a way to login later to access their existing account. This is a bit simpler than signup, since all we have to do is just validate the username/password, and return a JSON Web Token for the client to use. For the username, we just make sure it exists in the database, as for the password, we need to hash it using the same algorithm we used during signup, and compare that with the hash we saved in the database during signup.
With that said, your POST /login endpoint should look like this:
Notice how you never had to know or compare the user’s actual password, which is a security best practice, and it is one of many reasons we use bcrypt.
That’s pretty much it for basic login functionality. Of course you may have more validation to do or more functionality to add, but this is enough to illustrate and execute the login flow.
Authenticating User Requests
With the signup and login endpoints in place, we’ve provided the user all the means necessary to generate a JSON Web Token to be included in all authenticated requests. All we have to do now to secure any endpoint is to make sure that token exists in the Authorization header, and that it is a valid JSON Web Token. We can easily do that with the .verify JWT method.
The beauty of JSON Web Tokens is that it allows you to know everything you need to know about the user instantly with cryptography, without having to query the database. The data is just extracted from the token (if it is valid) and it is guaranteed to be exactly as you’ve signed it during signup/login.
As your application grows, and you end up with many protected endpoints, you may want to use a middleware to authenticate your requests, or use something like passport.js to manage that, but because app structure is opinionated and is different for each app, we’ll leave that to you.
Summary
Putting it all together, we’ve seen how you can easily add signup and login functionality to your app using JSON Web Tokens, and how to verify these tokens to protect your private endpoints. I hope this was a helpful introduction to how authentication works at a high level, and how it fits within Serverless Cloud. For more advanced use cases such as integrating with third party providers like Google, Twitter and Github, you may want to take a look at Passport.js or similar libraries that make it easier to authenticate your users. You can take a look at the complete example application here, and if you ever get stuck, visit our documentation.